You've probably seen friends and family with frames on their Facebook profile picture showing their support for causes, events they plan to attend, favorite holidays, celebrations, and more. Maybe you even used frames on your profile picture too.
But did you know that you can create your own frames in Facebook Frame Studio for your friends and followers?
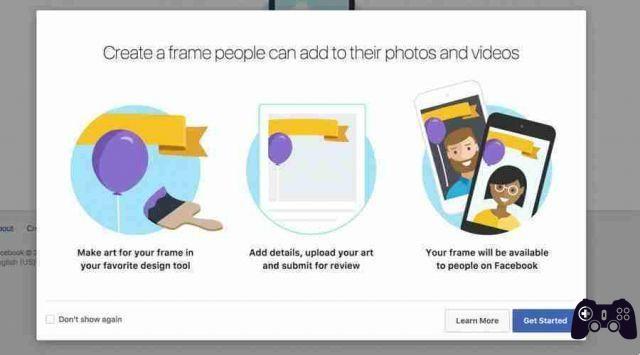
Here is a guide on how to create and share your Facebook frame.
Facebook frames requirements
- In order for your frame to be approved and uploaded, Facebook requires your artwork to be an original work, have a transparent background, and be in a PNG file format that is less than 1MB in size.
- You can create a frame using your personal account or the account of a Page you manage.
- The recommended Facebook profile picture frame size is 183 × 183 pixels. So it is recommended to keep the frame image and text at the top, bottom or sides of the frame, allowing the user's photo to be displayed.
- To create your frame, you will need an image editor.
How to upload your frames to Facebook
Once you've created and saved your frame as a PNG, making sure it meets the required guidelines set by Facebook, you're ready to start uploading and setting up your frame.
- Go up, where you will need to select Create a frame.
- Locate your PNG frame image on your computer and drag it to the Drag and Drop PNG window.
- Resize the image in the editor to fill the space accordingly. Then, select the Profile Pictures radio button in the “Create a frame for” section.
- Select Next once you are happy with your image.
- You must then choose an owner for the frame at the top right of the window. The owner can be your personal account or a page you manage.
- Add a name for the frame and also choose a schedule option to set the effect's publication date.
- You can also add intuitive and easy-to-remember keywords. These keywords will be important to others looking for your frame on Facebook.
- After that, select Next. This is a great opportunity to review and ensure your frame graphics fit properly on desktop and mobile.
- Select Back if you want to make further changes.
- Click Save as draft to save the frame as a draft or click Publish if you are ready to share the frame.
- You will be prompted once more before posting. If you are happy with your settings, click OK, otherwise select Cancel and go back to make corrections.
- Facebook will then process your posting request. You will receive a notification on Facebook when your frame has been approved or rejected.
NB: If your frame has been rejected, it could be because the image doesn't meet Facebook community standards or format guidelines. After reviewing the guidelines and editing your image accordingly, you can resend the frame.
How to add in your frame (frame to profile picture)
Once you have an approved frame, it's extremely easy to add it to your profile picture using the following steps:
- Go to your Facebook profile and click on your profile picture. Then, select Update Profile Picture.
- If you don't see your frame in the list, you can search for it using the keywords you entered when creating the frame.
- Once you have located the frame, select it to place it on your profile picture.
- You can also set a schedule for the frame to revert to your previous profile picture after a certain amount of time. Select a time period from the drop-down list next to the text that says "Go back to previous profile picture in".
- Select Use as profile picture.
How to remove a frame from the profile picture
To remove the Facebook frame, follow these steps:
- Select the camera icon next to your profile photo.
- Select Switch to previous image now.
- Click Confirm.