And how to play Windows games on Mac
It is not a secret; installing and playing Windows games on Mac is possible. However, the basic Boot Camp procedure does not allow you to install Windows 10 on an external hard drive, and it's not uncommon for a Mac's SSD to be too small to support dual OS.
Although there is no official method promoted by Apple, you can get around this with a series of steps.
Maybe you have a Mac for business purposes. Maybe, like our webmaster, having multiple computers on your desk hurts feng shui. Maybe you just bought a great external SSD (recommend the 5TB Samsung T1) and you want to make the most of it. If you fall into each of these reasons, this is the guide for you.
Before you begin, make sure you have a Mac that can support the procedure. Below is a list of Mac compatible with Windows 10:
 Samsung T5 1TB
On amazon: 114,99 € buy
- MacBook (2015 or higher)
- MacBook Air (2012 or later)
- MacBook Pro (2012 or higher)
- Mac mini (2012 or later)
- iMac (2012 or higher)
- iMac Pro (all models)
- Mac Pro (2013 or higher)
Note: Part of this guide can be skipped if you have Windows available at home. Parts exclusive to Mac systems will be highlighted.
How to install Boot Camp on external SSD from Mac: what to download
Playing Windows games on Mac is a fairly simple procedure in itself, and usually requires you to download just a couple of files. This changes slightly if you want to install Windows on an external hard drive.
You will need four basic files:
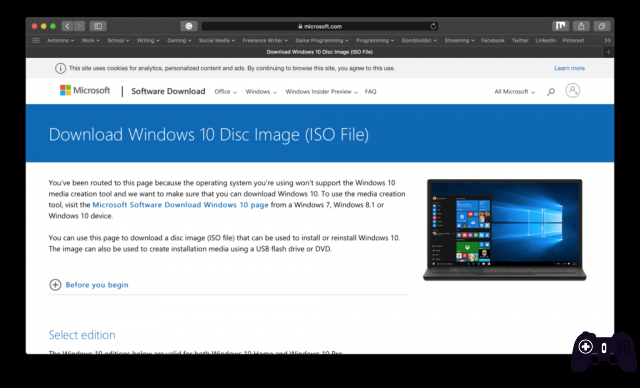
- Windows 10 ISO image (you can download it for free from the Microsoft website)
- WinToUsb Free
- VMWare Fusion / Parallels Desktop trial version (only on Mac)
- Boot Camp Support Driver (only on Mac); note: you will need a USB stick of at least 8GB.
Remember to save all these files in an easily accessible folder or on your desktop.
Download the files
Go to the Microsoft website and select Windows 10 from the drop-down menu, then choose the system language you prefer.
Download WinToUsb. It is a Windows-only application, but we'll fix it shortly.
Do you have Windows? If you have Windows at home, from here on you can skip to "Preparing the external hard drive for Windows installation".
Download the trial version of VMWare Fusion or Parallels Desktop, of your choice. VMWare tends to be a bit less intuitive than Parallels, and occasionally gives trouble reading the external hard drive - but installing the virtual machine it is much more guided. The final choice is up to you.
Open Disk Utility on Mac. Insert the 8GB USB stick / media and select it from the list on the side. Choose "Initialize" from the top menu and, as format, set MS-DOS (Fat). Do not close the application yet, you will need it very soon.
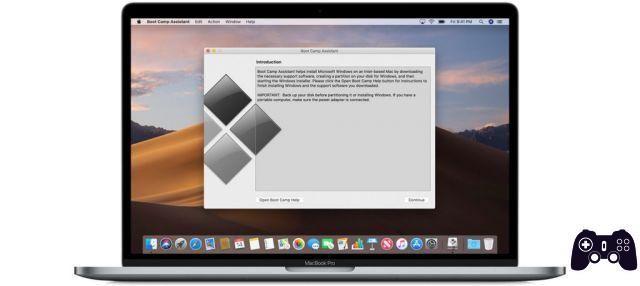
Open the application Boot Camp Assistant. From the top system menu, choose Actions> Download Windows Support Software. Follow the steps to install the support software on the USB stick and wait for the process to finish. It may take a while, but you can keep following the guide to optimize the time if you like.
Install the Windows Virtual Machine on Mac
Meanwhile, prepare the SSD / external hard drive for Windows installation. Using Disk Utility, select the hard disk on which you want to install Windows 10 and initialize it with these specifications:
- Name: Boot Camp
- Format: Mac OS Extended (Journaled)
- Scheme: GUID Partition Table
Be sure to select the mother disk rather than the single partition.
Please note:: WinToUSB cannot install Windows on a partition, unless it is the primary partition of the disk. If you want to take advantage of a part of the external drive on Mac, I highly recommend completing this guide to install Windows and only then partition the disk for Mac. The reverse process will cause this guide to fail.
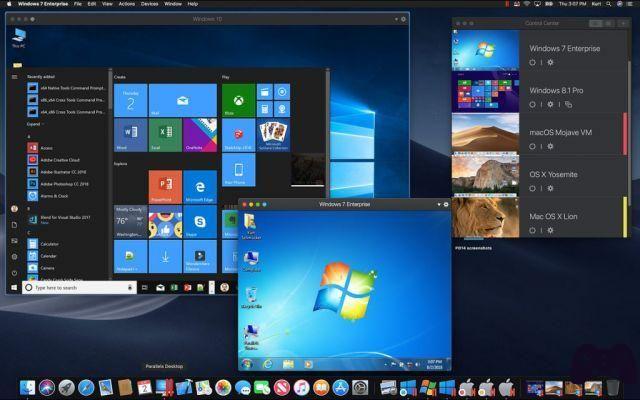
If you've downloaded the trial version of VMWare Fusion / Parallels Desktop, it's time to start it. Follow the instructions provided by the respective installer. Both will give you several options to create the Virtual Machine, including installing from a DVD or disc image. Choose the latter and drag the downloaded Windows 10 ISO to the beginning.
Choose a destination for the VM installation. Placing it on the internal hard drive may take up a lot of space, but you can always delete the Virtual Machine at the end of this guide. Alternatively, you could use a second external hard drive just for this purpose.
Follow the steps to complete the installation. At this point, Boot Camp Assistant should have finished downloading the support drivers. Move them to the same folder as the other Windows installation files and disconnect the external key as well.
Prepare the external hard drive for Windows 10 installation
Windows boot only supports NTFS format
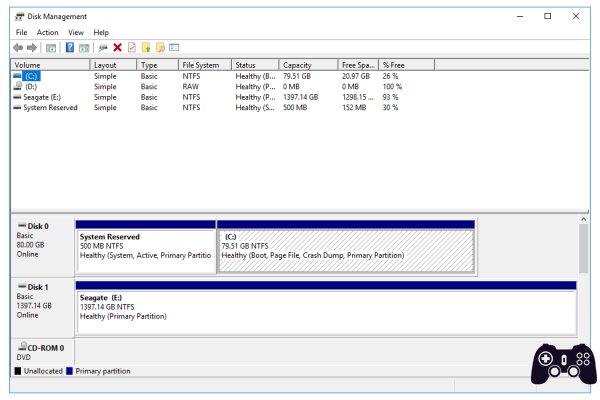
Connect the hard disk on which you want to install Windows 10. From the Virtual Machine or from your Windows, right click on the Windows icon in the lower left and select “Disk Management”. You should see your external hard drive in the list.
The disk should appear split in two at the bottom, with the primary partition much thicker than the EFI section. Select the thickest part of the disc and right click, then delete the volume.
Right click again e create a simple volume (Create Simple Volume ...). This process will erase the ExFAT partition from the disk and make it NTFS, the only format compatible with booting Windows.
How to install Windows 10 To Go on external hard drive
What is Windows To Go? Windows To Go is a portable installation of Windows. It doesn't support the biggest seasonal updates, but it works just like a normal Windows installation.
At this point, the process is almost done.
If you are using Parallels or VMWare, the top system menu should have a 'Virtual Machine' section. This will allow you to mount disk images on the Windows desktop. Mount the Windows 10 ISO and leave it there for now.
Open WinToUSB. From the main interface, select the disk drive on the sidebar, then choose the Windows 10 installation disk you just mounted from the drop-down menu. You should see a list of Windows 10 versions that you can install. The free version of WinToUSB doesn't seem to support Windows 10 Pro, but Windows 10 Home Edition should be fine for your needs.
At this point, WinToUSB will ask you to choose the destination disk for the Windows 10 installation. Select your external hard disk.
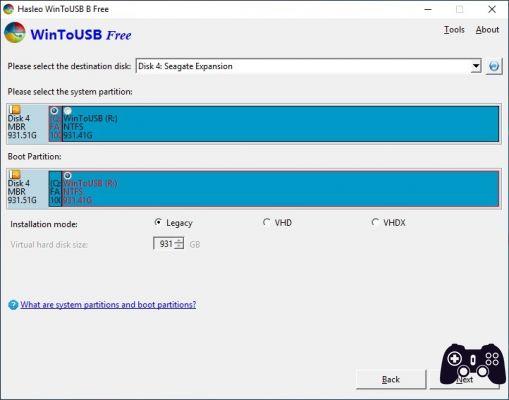
This step is crucial: set the partition of system in the smallest section of the disk (EFI), and place the Boot on the largest section (NTFS). Confirm everything and wait for the installation.
Grab the Boot Camp support drivers and move them to the external hard drive with Windows. Any location will do, but remember the folder for later. I recommend placing them inside documents or on the shared desktop. You will need them shortly.
Congratulations: you have just installed Boot Camp on an external hard drive.
How to use Boot Camp on Mac at power on
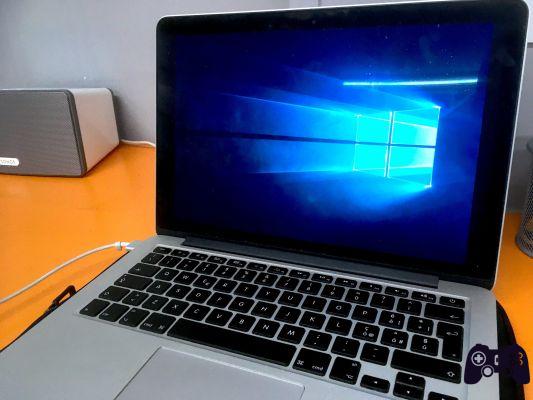
There are two ways to switch to Windows 10 when you turn on your Mac: set Windows as the main system, or choose it manually at boot.
In the first case, you will need to go to your Mac's System Settings and to the 'Startup Disk' section. Select the Windows disk from the list and, from now on, the computer will switch to Windows every time you turn it on.
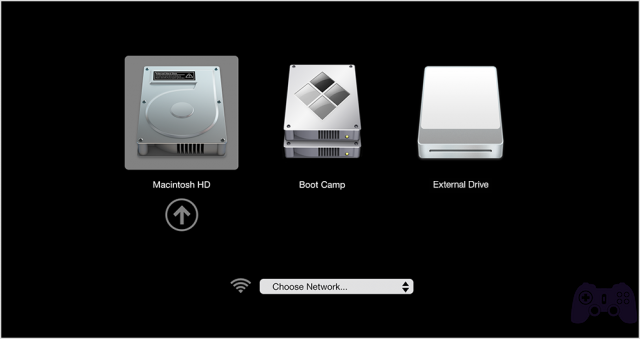
Alternatively, and it's a more flexible method which I personally prefer, hold down the Alt / Options key as soon as you hear the sound of the Mac when you turn it on. Within a few seconds, you should see a list of available hard drives connected to the Mac on the screen. Choose 'EFI' from the list to start Windows instantly.
Follow the steps to complete the Windows installation and set it as you prefer. Before you start using it, however, you should install Boot Camp support drivers to ensure compatibility with Apple devices.
To learn more:
Better MacBook Pro or MacBook Air? A matter of practice
Navigate to the Boot Camp driver folder and select 'Setup' from one of the subfolders. The screen may flash a couple of times to adjust the resolution and icons, so just wait for the installation to finish. From that point on, you should be able to use your external devices (like the Magic Mouse and the like) without compatibility problems.
If you have chosen to use the Alt / Options key, the computer should automatically revert to the Mac on every single reboot. Remember this, in case you need to restart Windows for any reason. In that case, you will need to hold down the key each time you power up.
If, on the other hand, you have chosen Windows as the primary partition, all you have to do is do the same thing to get back to Mac without any problems: hold down the Alt / Options key at power on to choose Mac from the list.
Make the most of Boot Camp on external HDD
Usually, the first thing I do in these cases is always install Steam, Origins (for The Sims), Epic Games Store (Yup: Epic Games Store) and any other launcher I need, and then start downloading the games I prefer. It's up to you how to best use Windows on Mac, but keep in mind that this is not a gaming machine and that you probably won't be able to play top-of-the-line titles with ease.

And Boot Camp is, of course, not a permanent solution. This guide is intended for those who have or need Windows temporarily. Apple's integrated graphics cards aren't excellent, and you are unlikely to be able to run Red Dead Redemption 2 at Ultra. Maybe you won't even be able to at the lowest settings. But it's a great way to get by, if you have no other way to use your Windows Steam library.
You will also have the advantage of using an extremely high-performance computer, which on average could run Windows much better than a medium-low-end machine. In short, Boot Camp should be able to give you some satisfaction, and I'm sure you won't regret installing it. And when you are in a position to buy a gaming computer, you can always remove Windows from your hard drive to save a mess of space.